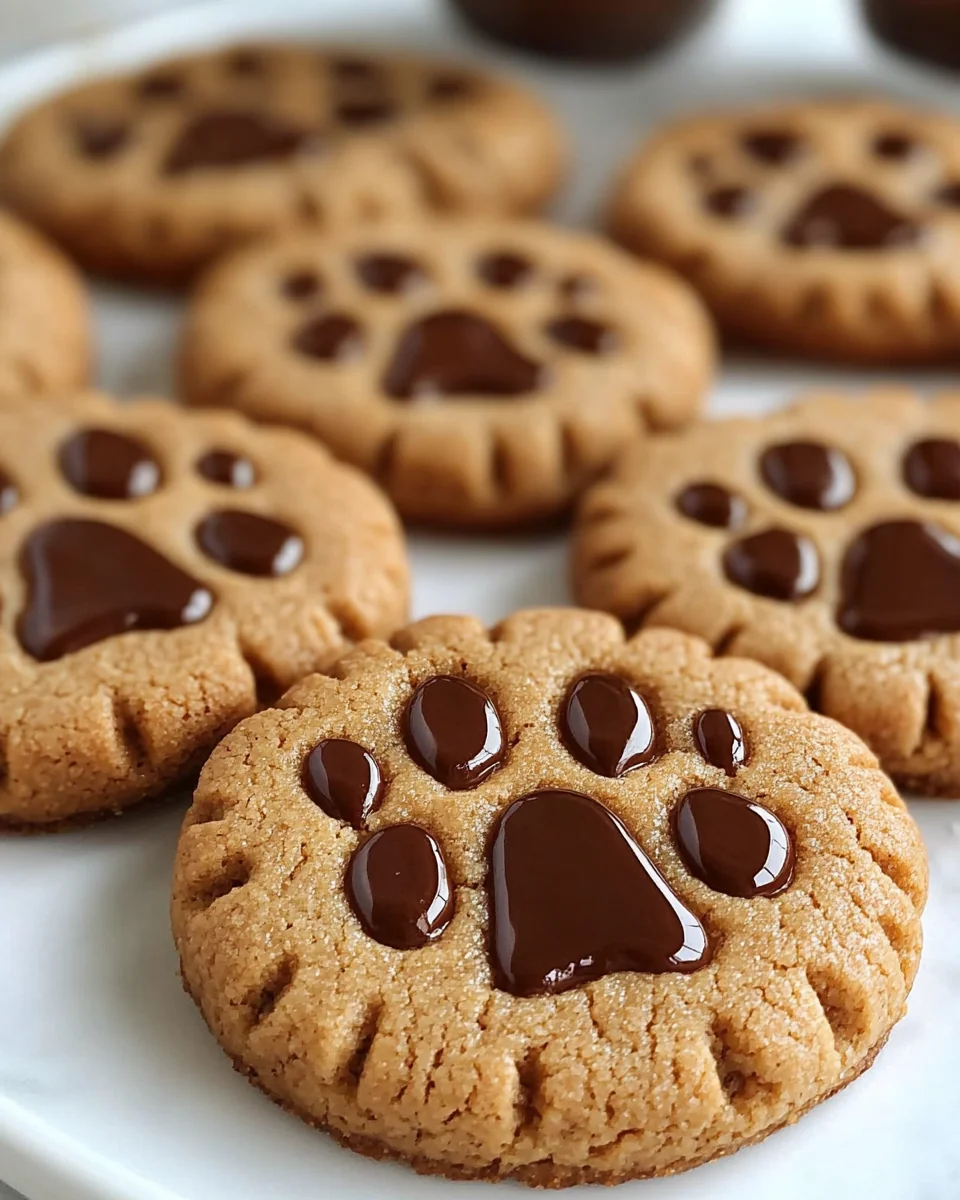
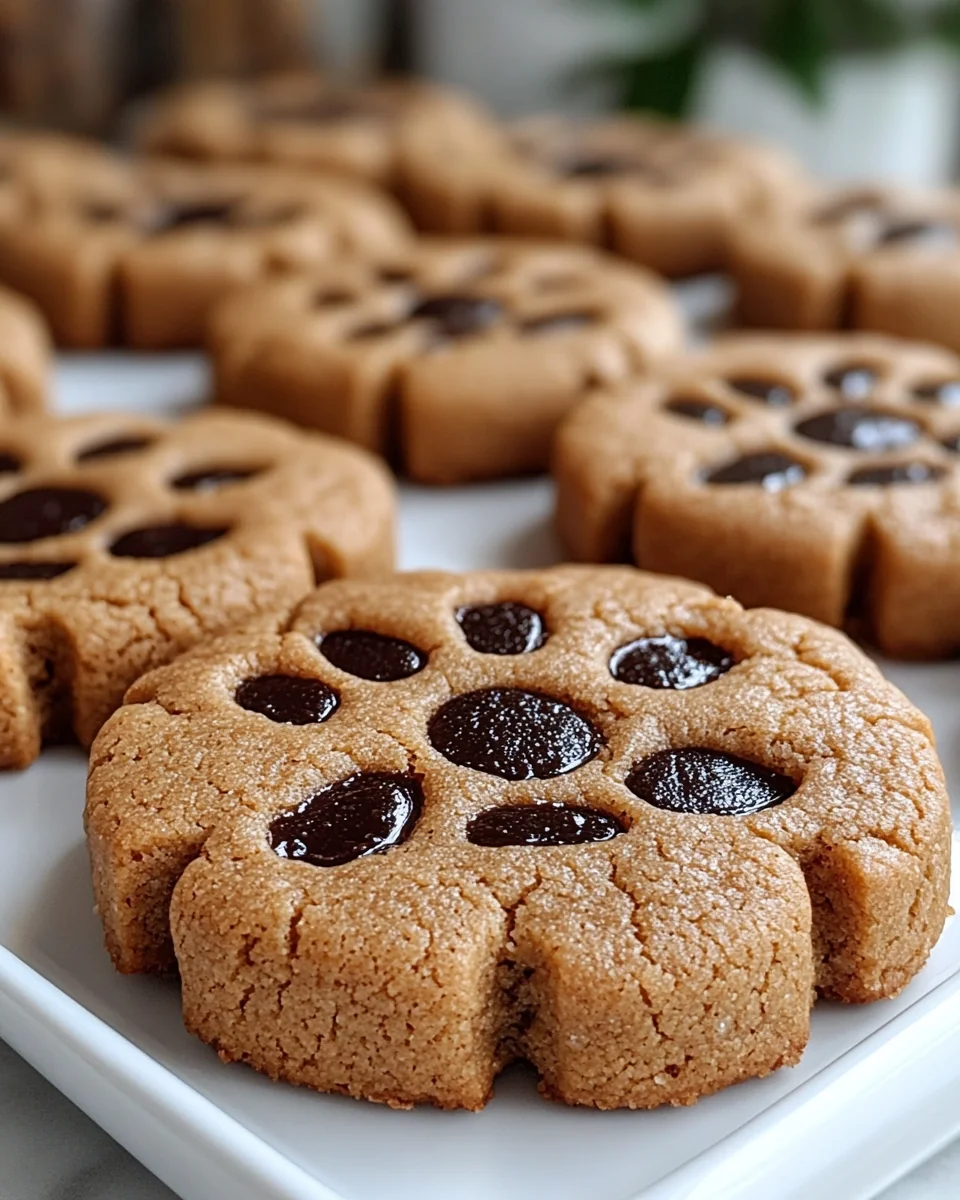
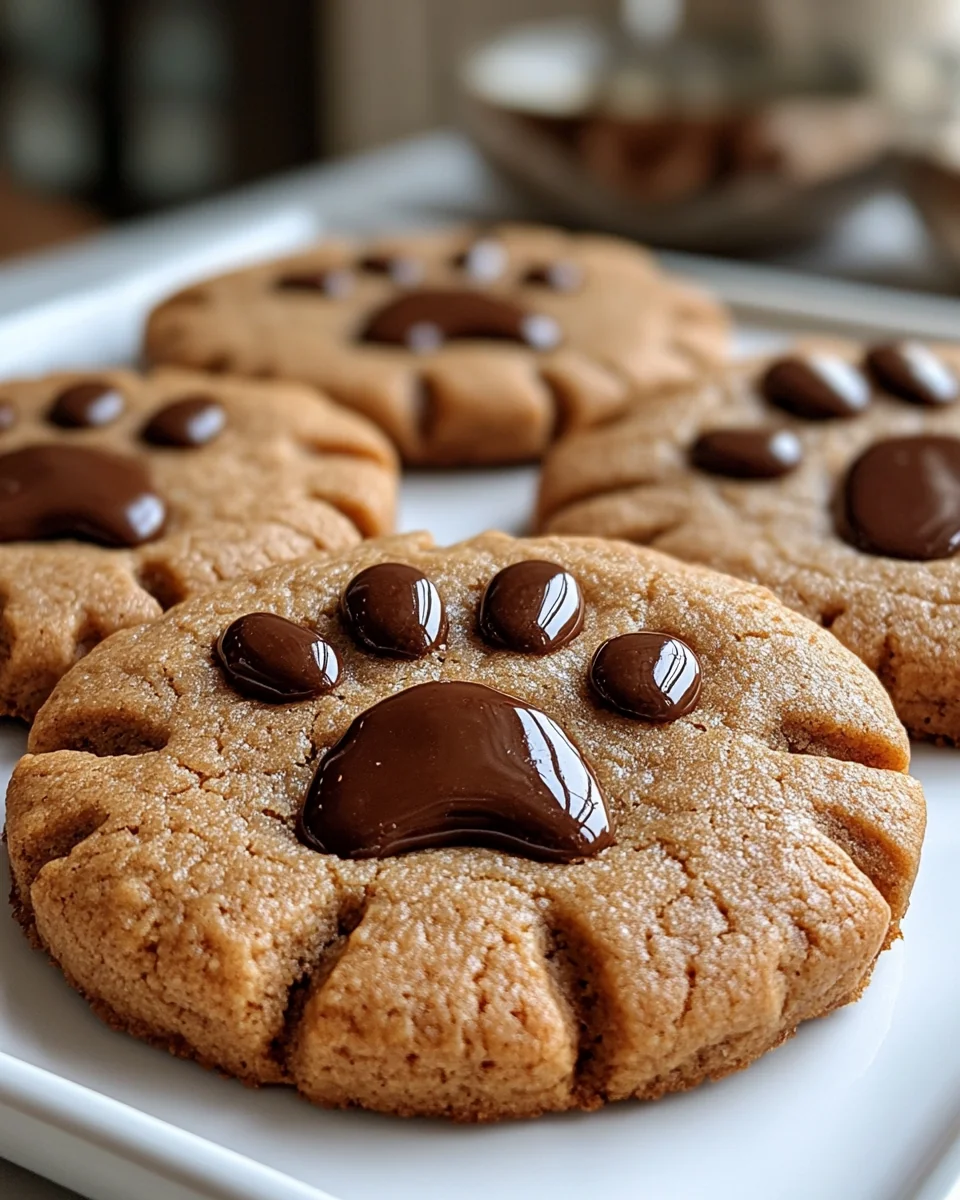
Classic Peanut Butter Paw Print Cookies
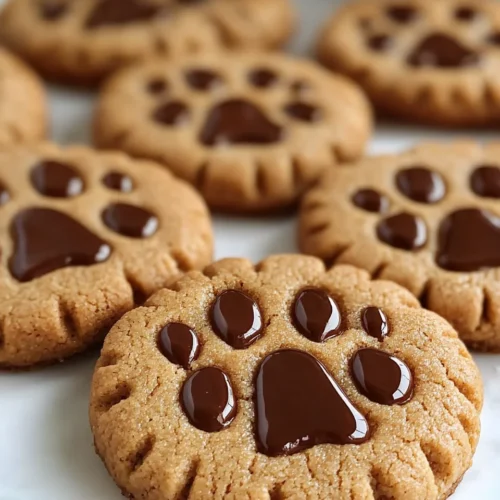
Classic Peanut Butter Paw Print Cookies are a delightful treat that combines the rich, creamy flavor of peanut butter with a playful design that resembles adorable paw prints. These cookies are perfect for any occasion, making them a fantastic addition to family gatherings, school bake sales, or simply enjoying as an evening snack. The standout quality of these cookies lies in their unique appearance and the wonderful balance of sweet and nutty flavors that will appeal to both children and adults alike. The soft, chewy texture of the cookies contrasts beautifully with the rich chocolate center, creating a mouthwatering experience that keeps you coming back for more. Whether you are baking for a special event or just a cozy night at home, Classic Peanut Butter Paw Print Cookies are sure to impress.
Why You’ll Love This Recipe?
This recipe for Classic Peanut Butter Paw Print Cookies stands out for several reasons. First, the flavor profile is extraordinary. The combination of peanut butter and chocolate creates a perfect harmony that is both satisfying and indulgent. Each bite delivers a punch of rich, nutty goodness, making it hard to resist reaching for another cookie.
Second, the ease of preparation is a major highlight. With simple ingredients and straightforward steps, even novice bakers can whip up a batch with confidence. The recipe does not require any fancy equipment or techniques, making it accessible to everyone who loves to bake.
Lastly, the texture of the cookies is something to rave about. They are soft and chewy on the inside while maintaining a slight crispness on the edges. This delightful contrast enhances the enjoyment of the Classic Peanut Butter Paw Print Cookies, making them a beloved treat for all ages.
Ingredients to make The recipe :

To create these mouthwatering Classic Peanut Butter Paw Print Cookies, you will need the following ingredients:
- All-Purpose Flour: This is the foundation of your cookie dough, providing structure and stability. You will need 2 cups of all-purpose flour. It helps create the right texture, ensuring that the cookies hold their shape while baking, allowing for that signature paw print design.
- Baking Soda: Using 1 teaspoon of baking soda is essential for leavening. It reacts with the acidity in the peanut butter, helping the cookies rise and become airy. This ingredient is crucial for achieving that perfect soft-baked texture.
- Salt: A half teaspoon of salt enhances the flavors of the ingredients, balancing the sweetness of the cookies. It is a small but mighty addition that elevates the overall taste of the Classic Peanut Butter Paw Print Cookies.
- Unsalted Butter: You will need ½ cup of unsalted butter, softened at room temperature. The butter adds richness and moisture to the cookies, contributing to their chewy texture. Make sure it’s softened to blend smoothly with the other ingredients.
- Granulated Sugar: For sweetness, use ¾ cup of granulated sugar. This sugar helps create a delightful balance between the nutty flavor of the peanut butter and the sweetness of the cookie, resulting in a perfectly sweet treat.
- Brown Sugar: Adding ¾ cup of packed brown sugar provides a deeper flavor and moisture to the cookies. The molasses content in brown sugar enhances the chewiness, making each bite even more satisfying.
- Peanut Butter: The star ingredient, use 1 cup of creamy peanut butter for a rich and nutty flavor. It adds depth to the cookies and is essential for that classic peanut butter taste. Make sure to choose a smooth variety for easy mixing.
- Egg: One large egg is required to bind the ingredients together. The egg also contributes to the cookies’ structure and moisture, ensuring they are not too dry or crumbly.
- Chocolate Chips: For the paw print centers, ½ cup of semi-sweet chocolate chips are used. These add a decadent touch, melting beautifully in the oven to create that signature paw print look and flavor.
How to Make Classic Peanut Butter Paw Print Cookies ?
To prepare your Classic Peanut Butter Paw Print Cookies, follow these detailed steps:
- Begin by preheating your oven to 350°F (175°C). This ensures that your cookies bake evenly and develop a perfect golden color.
- In a medium bowl, whisk together the all-purpose flour, baking soda, and salt. This step helps to evenly distribute the leavening agent and salt throughout the flour, which is crucial for achieving consistent results.
- In a large mixing bowl, cream together the unsalted butter, granulated sugar, and brown sugar until the mixture is light and fluffy. This process usually takes about 2-3 minutes with an electric mixer. The fluffiness indicates that the sugars have dissolved properly, which will help in achieving a tender cookie.
- Add in the peanut butter and continue to beat the mixture until it is fully combined. The peanut butter should be smooth and well-incorporated to ensure a uniform flavor throughout the cookies.
- Next, beat in the egg until fully combined. The egg acts as a binder, helping to hold the cookie dough together.
- Gradually incorporate the dry ingredients from the medium bowl into the wet mixture. Mix until just combined; be careful not to overmix, as this can lead to tough cookies.
- Fold in the chocolate chips gently using a spatula. This adds an extra touch of sweetness and visual appeal to the cookies.
- Using a cookie scoop or two tablespoons, drop rounded balls of dough onto a lined baking sheet, spacing them about 2 inches apart to allow for spreading during baking.
- Once all the dough is on the baking sheet, use the back of a fork to create a crisscross pattern on top of each cookie, pressing down slightly. This is an important step to create the paw print effect.
- Now, make an indentation in the center of each cookie with your thumb or a small round object to form a small well for the chocolate chip.
- Bake in the preheated oven for 10-12 minutes, or until the edges are lightly golden. Keep an eye on them to prevent overbaking, as they will continue to firm up once removed from the oven.
- Remove the cookies from the oven and immediately press a chocolate chip into the center of each cookie to enhance the paw print look.
- Allow the cookies to cool on the baking sheet for a few minutes before transferring them to a wire rack to cool completely. This helps them set properly.
- Once cooled, enjoy your delicious Classic Peanut Butter Paw Print Cookies with a glass of milk or your favorite beverage!
Tips for Variations:
While the Classic Peanut Butter Paw Print Cookies are delectable as is, here are some creative variations to consider:
- Nutty Additions: For an extra crunch, fold in chopped nuts such as peanuts or walnuts into the dough along with the chocolate chips. This not only enhances the flavor but also adds a delightful texture contrast to your cookies.
- Flavored Peanut Butter: Experiment with flavored peanut butter varieties, such as honey-roasted or chocolate peanut butter, to add a unique twist to the taste of your cookies. This can create a different flavor profile that is equally delicious.
- Decorative Toppings: After baking, consider drizzling melted chocolate over the cookies for a decorative touch. You can also sprinkle sea salt on top for a sweet and salty combination that elevates the taste experience.
- Cookie Sandwiches: Transform your cookies into delightful sandwiches by adding a layer of creamy frosting or your favorite jam between two cookies. This turns your Classic Peanut Butter Paw Print Cookies into a more indulgent treat.
- Seasonal Variations: During different seasons, incorporate seasonal spices like cinnamon or pumpkin spice into the dough for a festive touch. These spices can enhance the aroma and flavor, making your cookies perfect for holiday gatherings.
- Gluten-Free Option: To make a gluten-free version, substitute the all-purpose flour with a gluten-free blend. Ensure that the blend contains xanthan gum for proper structure and texture in the cookies.
- Chocolate-Dipped Cookies: For a decadent treat, dip half of each cookie in melted chocolate after they have cooled. This adds an irresistible richness and makes the cookies even more visually appealing.
- Mini Cookies: Make smaller, bite-sized versions of the cookies by reducing the dough ball size. These mini versions are perfect for parties or gatherings where guests can enjoy a variety of treats.
Serving Suggestions:
When it comes to serving your Classic Peanut Butter Paw Print Cookies, there are numerous delightful options to consider:
- Milk Pairing: Serve your cookies alongside a tall glass of cold milk. The classic combination of peanut butter and milk enhances the flavors and creates a nostalgic experience.
- Party Treats: Display these cookies on a festive platter for birthday parties, holiday gatherings, or family reunions. Their charming paw print design is sure to be a conversation starter and a hit among guests.
- Snack Time: Enjoy these cookies as a midday snack or treat for kids after school. Their portable size makes them easy to pack in lunch boxes or take on road trips.
- Seasonal Occasions: Consider these cookies for seasonal events such as Halloween or Christmas, where you can decorate them with themed toppings or colors to match the holiday spirit.
- Storage Tips: Store your cookies in an airtight container at room temperature for up to a week. This keeps them fresh and chewy, allowing you to enjoy them over several days.
- Gift Giving: Package a batch of these cookies in a decorative box or jar as a thoughtful gift for friends and family. Including a handwritten note adds a personal touch that makes the gift even more special.
- Cookie Bar: Create a cookie bar at your next gathering with various toppings and dips. Guests can customize their Classic Peanut Butter Paw Print Cookies, making it an interactive and fun experience.
FAQ:
How do I store leftovers?
Store leftover Classic Peanut Butter Paw Print Cookies in an airtight container at room temperature for up to one week. This will keep them fresh and maintain their delicious chewy texture.
Can I freeze this recipe?
Yes, you can freeze Classic Peanut Butter Paw Print Cookies. Place them in a single layer in a freezer-safe container, separating layers with parchment paper. They can be stored for up to three months and thawed at room temperature before serving.
What makes these cookies a family favorite?
The combination of flavors, fun design, and chewy texture makes Classic Peanut Butter Paw Print Cookies a family favorite. Kids love the paw print design, while adults appreciate the rich peanut butter taste.
Can I make the dough ahead of time?
Absolutely! You can prepare the dough in advance and refrigerate it for up to 48 hours before baking. This allows the flavors to meld and can help enhance the overall taste of the cookies.
What is the best way to serve these cookies warm?
To serve Classic Peanut Butter Paw Print Cookies warm, bake them just before serving. Alternatively, you can microwave them for a few seconds to warm them up, ensuring the chocolate chips are melty and gooey.
Classic Peanut Butter Paw Print Cookies
Equipment
- Mixing Bowl
- Baking Sheet
- Electric Mixer
- Cookie Scoop
Ingredients
Dry Ingredients
- 2 cups All-Purpose Flour Provides structure and stability.
- 1 teaspoon Baking Soda Essential for leavening.
- 0.5 teaspoon Salt Enhances flavors.
Wet Ingredients
- 0.5 cup Unsalted Butter Softened at room temperature.
- 0.75 cup Granulated Sugar For sweetness.
- 0.75 cup Brown Sugar Packed for moisture and flavor.
- 1 cup Peanut Butter Creamy variety for best results.
- 1 large Egg Binds the ingredients together.
- 0.5 cup Chocolate Chips For the paw print centers.
Instructions
- Preheat your oven to 350°F (175°C).
- In a medium bowl, whisk together the flour, baking soda, and salt.
- In a large mixing bowl, cream together the butter, granulated sugar, and brown sugar until light and fluffy.
- Add in the peanut butter and mix until fully combined.
- Beat in the egg until fully incorporated.
- Gradually mix in the dry ingredients until just combined.
- Fold in the chocolate chips gently.
- Drop rounded balls of dough onto a lined baking sheet, spacing them about 2 inches apart.
- Create a crisscross pattern on top of each cookie with a fork.
- Make an indentation in the center of each cookie for the chocolate chip.
- Bake for 10-12 minutes until edges are lightly golden.
- Press a chocolate chip into the center of each cookie immediately after baking.
- Allow to cool on the baking sheet for a few minutes before transferring to a wire rack.