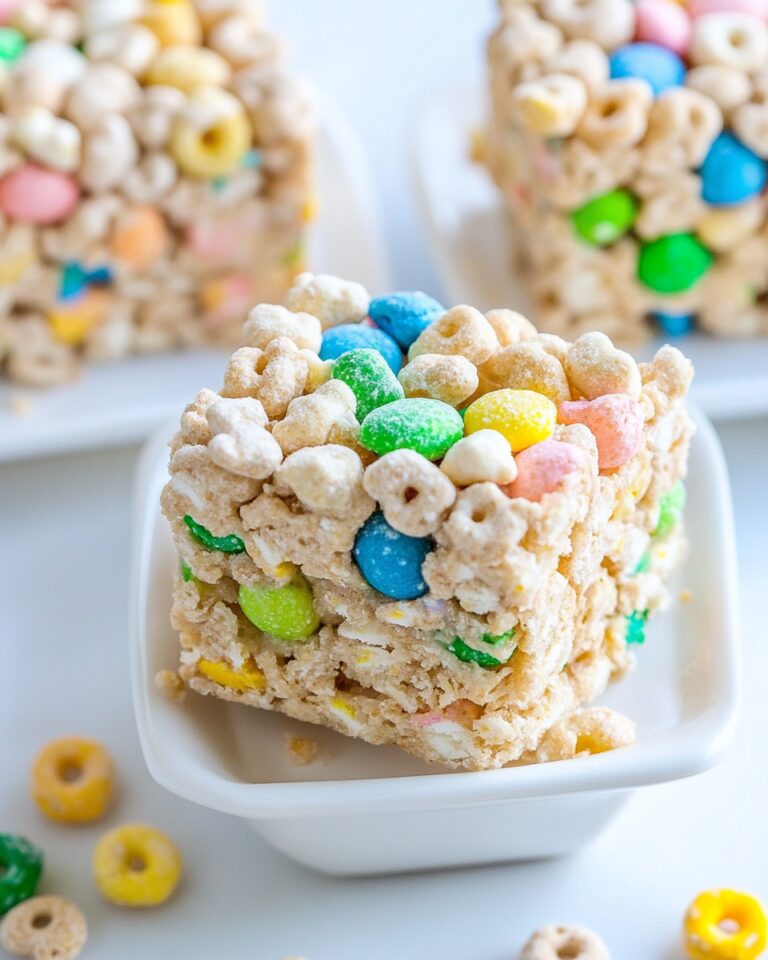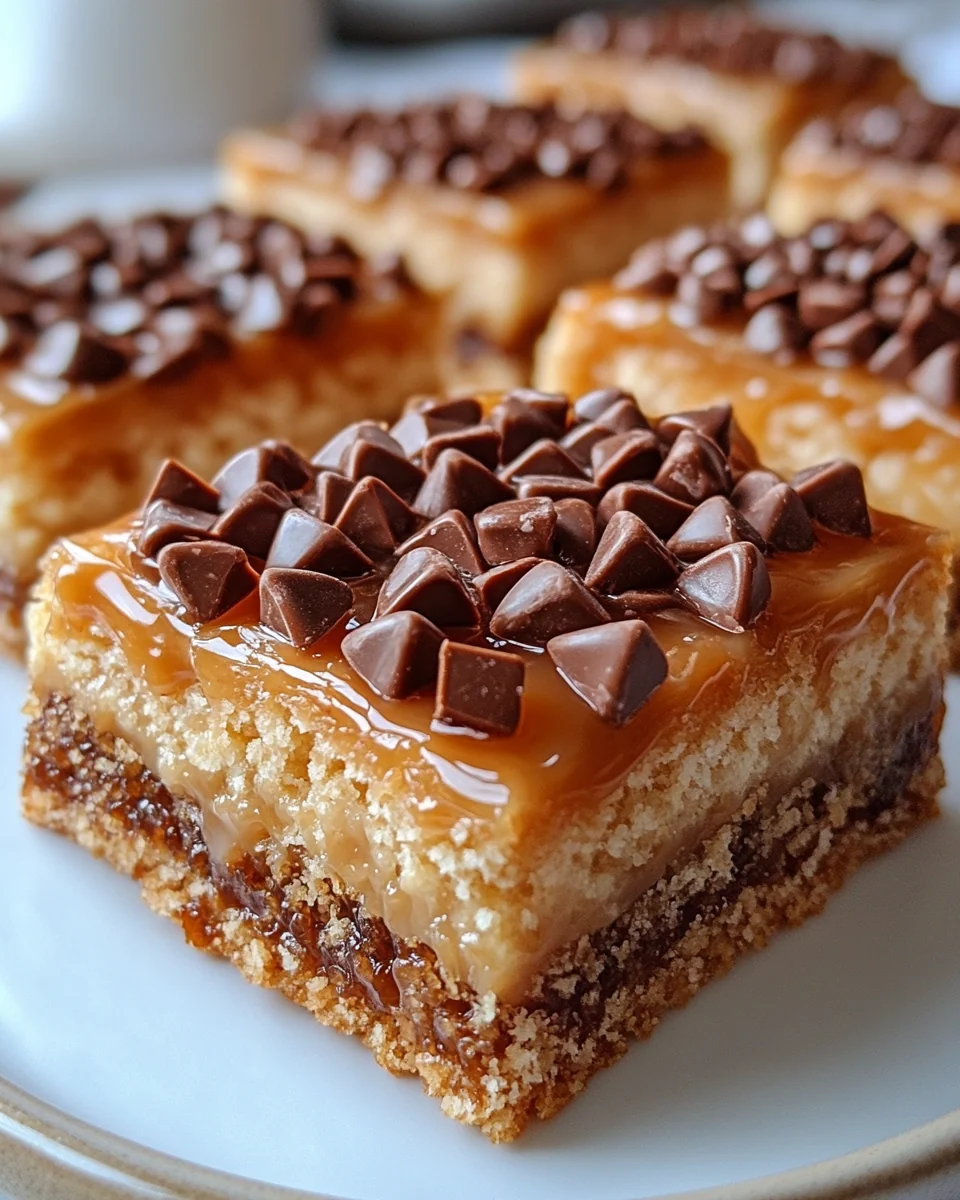
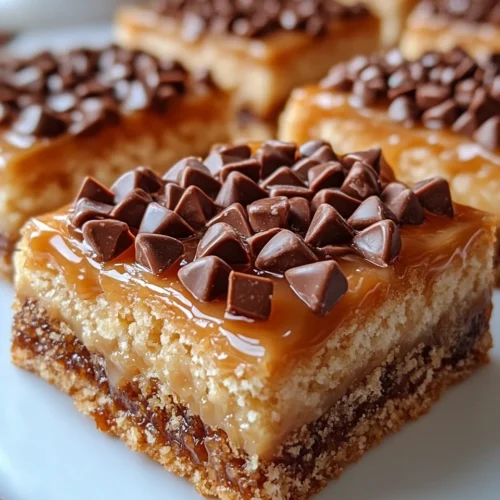
Homemade Butterfinger Caramel Crunch Bars
The Homemade Butterfinger Caramel Crunch Bars are an indulgent treat that captivates the senses with their unique flavor profile and satisfying crunch. Combining the rich, buttery taste of caramel with the delightful crunch of a well-balanced crispy layer, these bars create a flavor experience that is truly unforgettable. Perfect for family gatherings, movie nights, or as a sweet pick-me-up during the week, these bars appeal to both children and adults alike. The standout quality of the Homemade Butterfinger Caramel Crunch Bars lies in their ability to deliver a perfect blend of sweetness and texture, ensuring that each bite is both satisfying and enjoyable.
Why You’ll Love This Recipe?
One of the primary reasons you’ll love making Homemade Butterfinger Caramel Crunch Bars is the incredible taste that comes from the harmonious combination of flavors. The sweet caramel, crunchy layers, and creamy chocolate coating create a symphony of deliciousness that is hard to resist. Additionally, this recipe is remarkably easy to follow. Even novice bakers can successfully create these bars without feeling overwhelmed. The step-by-step instructions ensure a smooth process, making it a fun experience for everyone involved.
The texture of the Homemade Butterfinger Caramel Crunch Bars is another aspect that sets this dessert apart. The contrast between the smooth caramel, the crispy layer, and the rich chocolate coating creates a delightful mouthfeel, making each bar a satisfying treat. Lastly, the versatility of this recipe allows for customization, enabling you to tailor the bars to your preferences. Whether you prefer a thicker layer of caramel or a different type of chocolate, the possibilities are endless, ensuring that you can make the recipe your own.
Ingredients to make The recipe :

To create the delicious Homemade Butterfinger Caramel Crunch Bars, you will need the following ingredients:
- Butter: Using 1/2 cup of unsalted butter adds richness and depth to the bars. Butter is essential for the caramel layer, providing a smooth texture and enhancing the overall flavor profile of the dessert.
- Granulated Sugar: 1 cup of granulated sugar is used to create the caramel. This sugar will melt and caramelize, developing a rich, sweet flavor that complements the other ingredients perfectly.
- Light Corn Syrup: 1/3 cup of light corn syrup helps prevent crystallization in the caramel, ensuring a smooth and creamy consistency. This ingredient is crucial for achieving that melt-in-your-mouth quality.
- Sweetened Condensed Milk: 1/2 cup of sweetened condensed milk adds creaminess and enhances the sweetness of the caramel layer. This ingredient helps bind the mixture, creating a luscious filling.
- Chocolate Chips: 1 cup of semi-sweet chocolate chips will be melted and used to coat the bars. The rich chocolate flavor balances the sweetness of the caramel and adds a luxurious finish to each bite.
- Peanut Butter: 1/2 cup of creamy peanut butter gives the bars their signature flavor. The nuttiness of peanut butter complements the sweetness of the caramel and chocolate, making each bite irresistible.
- Crispy Rice Cereal: 4 cups of crispy rice cereal provide the crunchy texture that defines these bars. This ingredient adds a delightful crunch, making the Homemade Butterfinger Caramel Crunch Bars truly enjoyable.
- Vanilla Extract: 1 teaspoon of vanilla extract enhances the flavors of the bars, adding a warm, aromatic quality that rounds out the overall taste.
How to Make Homemade Butterfinger Caramel Crunch Bars ?

Making Homemade Butterfinger Caramel Crunch Bars is a rewarding process that begins with preparing your ingredients. Start by gathering all the necessary items from your pantry. Line a 9×13-inch baking pan with parchment paper, allowing some overhang for easy removal later. This simple step ensures that your bars will come out perfectly without sticking.
Next, in a large saucepan over medium heat, melt the 1/2 cup of unsalted butter. As the butter melts, add the 1 cup of granulated sugar and 1/3 cup of light corn syrup. Stir the mixture constantly until it begins to boil. This is a crucial step; you want to ensure that the sugar dissolves completely and that the mixture starts to bubble. Once boiling, reduce the heat to low and continue stirring for about 5 minutes.
After 5 minutes, remove the saucepan from the heat and stir in the 1/2 cup of sweetened condensed milk and 1/2 cup of creamy peanut butter. Mix these ingredients well until they are fully incorporated and smooth. This combination creates a luscious caramel filling that will be the star of your bars.
Now, return the saucepan to low heat and cook the mixture for an additional 3-5 minutes, stirring constantly until it thickens slightly. You will notice it becoming more viscous, which is what you’re looking for. Once thickened, remove from heat and set aside to cool slightly.
In a separate bowl, place the 4 cups of crispy rice cereal. Pour the slightly cooled caramel mixture over the cereal and gently fold it in. Be careful not to crush the cereal; you want to maintain its crunchiness. Once everything is well combined, transfer the mixture into the prepared baking pan. Use a spatula to press it evenly into the pan, ensuring a compact layer.
Next, melt the 1 cup of semi-sweet chocolate chips in a microwave-safe bowl or over a double boiler until smooth. If using a microwave, heat in 30-second intervals, stirring in between to prevent burning. Once melted, pour the chocolate over the pressed cereal mixture in the baking pan, spreading it evenly to create a smooth, glossy top.
Allow the bars to cool at room temperature for about 30 minutes, then transfer them to the refrigerator to set completely for at least 2 hours. This chilling period is vital as it helps the chocolate harden and the layers bind together beautifully.
Once set, use the parchment paper overhang to lift the bars out of the pan. Place them on a cutting board and cut into squares or rectangles, depending on your preference. Each bite should reveal the delicious layers of caramel, crunch, and chocolate.
Finally, serve your Homemade Butterfinger Caramel Crunch Bars and enjoy the compliments that come your way. They are perfect for sharing or savoring on your own!
Tips for Variations:
When it comes to customizing your Homemade Butterfinger Caramel Crunch Bars, the options are plentiful. One creative variation is to add chopped nuts, such as almonds or walnuts, to the cereal mixture. This adds an extra layer of texture and nutty flavor that perfectly complements the existing ingredients.
Another idea is to experiment with different types of chocolate for the coating. Dark chocolate or milk chocolate can provide unique flavor profiles. You might even consider using white chocolate for a sweeter option, adding drizzles of colored chocolate on top for a decorative touch.
If you’re looking to enhance the caramel flavor even further, consider infusing the caramel mixture with a hint of sea salt. A sprinkle of flaky sea salt on top of the chocolate layer elevates the flavor, creating a sweet-and-salty balance that is utterly irresistible.
For a seasonal twist, try incorporating ingredients like crushed peppermint candies during the holiday season. This festive addition can be mixed into the cereal layer or sprinkled on top of the chocolate coating for a pop of color and flavor.
Lastly, if you enjoy a bit of spice, consider adding a dash of cinnamon or nutmeg to the cereal mixture. This warm spice can add depth and a hint of warmth that makes these bars perfect for cozy occasions.
Serving Suggestions:

Your Homemade Butterfinger Caramel Crunch Bars can be enjoyed in various ways. For casual gatherings or movie nights, serve these bars alongside a selection of fresh fruits, like strawberries or apple slices. The freshness of the fruit helps balance the sweetness of the bars.
During special occasions such as Ramadan or family celebrations, these bars can be presented on a decorative platter, accompanied by an assortment of other sweets and snacks. Their eye-catching layers and rich flavors make them a standout treat among other offerings.
If you find yourself with leftovers, store the bars in an airtight container at room temperature for up to a week. For longer storage, they can be refrigerated. When serving, you can cut them into smaller bite-sized pieces for guests to enjoy as a delightful treat with coffee or tea.
These bars are also perfect for lunch boxes. Pack them with some yogurt and fruit for a balanced meal that kids will love. The Homemade Butterfinger Caramel Crunch Bars are not only a delicious treat but also a fun conversation starter, making them an excellent addition to any gathering or special event.
FAQ:
How do I store leftovers?
To store leftovers of your Homemade Butterfinger Caramel Crunch Bars, place them in an airtight container at room temperature for up to a week. Make sure to separate layers with parchment paper to prevent sticking.
Can I freeze this recipe?
Yes, you can freeze Homemade Butterfinger Caramel Crunch Bars for up to three months. Wrap them tightly in plastic wrap and then place them in a freezer-safe container. Thaw at room temperature before serving.
Can I make these bars without peanut butter?
Yes, you can create a variation of Homemade Butterfinger Caramel Crunch Bars without peanut butter. Consider using almond butter or sunflower seed butter for a similar texture without the peanut flavor.
What should I do if my caramel is too hard?
If your caramel becomes too hard, you can gently reheat it in a saucepan on low heat, adding a splash of water or milk to soften it. Stir until it reaches a smooth consistency again before using.
Can I make these bars ahead of time?
Absolutely! Homemade Butterfinger Caramel Crunch Bars can be made a day or two in advance, making them a convenient option for parties or gatherings. Just store them properly as mentioned above.
Homemade Butterfinger Caramel Crunch Bars
Equipment
- Saucepan
- Mixing Bowl
- Baking Pan
Ingredients
Ingredients
- 1/2 cup Unsalted Butter Adds richness and depth to the bars.
- 1 cup Granulated Sugar Used to create the caramel.
- 1/3 cup Light Corn Syrup Prevents crystallization in the caramel.
- 1/2 cup Sweetened Condensed Milk Adds creaminess to the caramel layer.
- 1 cup Semi-Sweet Chocolate Chips Used to coat the bars.
- 1/2 cup Creamy Peanut Butter Gives the bars their signature flavor.
- 4 cups Crispy Rice Cereal Provides the crunchy texture.
- 1 teaspoon Vanilla Extract Enhances the flavors of the bars.
Instructions
- Line a 9x13-inch baking pan with parchment paper.
- Melt the butter in a saucepan over medium heat.
- Add sugar and corn syrup, stirring until boiling.
- Reduce heat and stir for 5 minutes, then remove from heat.
- Stir in sweetened condensed milk and peanut butter until smooth.
- Return to low heat and cook for an additional 3-5 minutes until thickened.
- Pour caramel mixture over crispy rice cereal and fold gently.
- Press mixture into the prepared baking pan.
- Melt chocolate chips and pour over the pressed mixture.
- Cool at room temperature for 30 minutes, then refrigerate for at least 2 hours.
- Lift bars out using parchment paper and cut into squares.