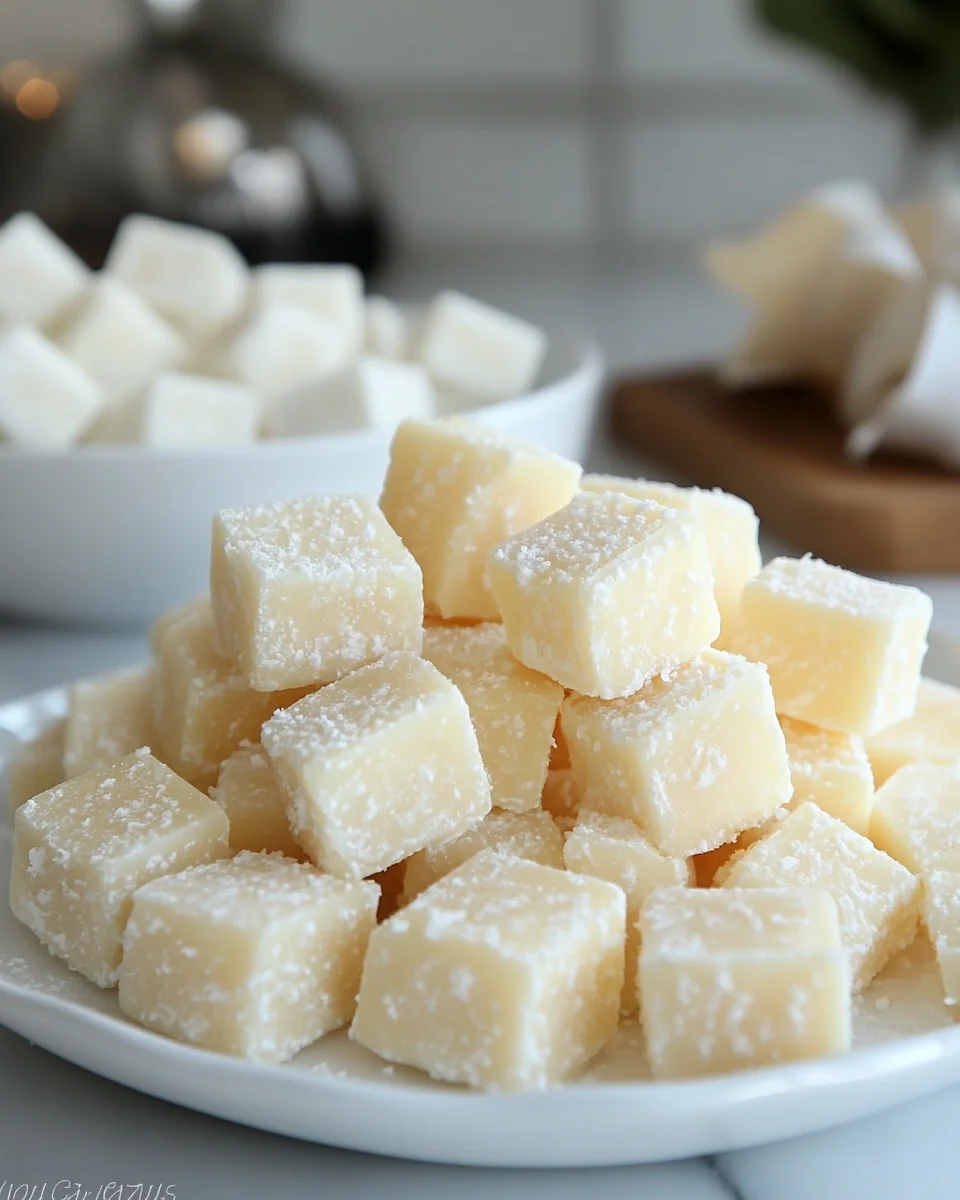
Classic Homemade Butter Mints
Classic Homemade Butter Mints are a delightful treat that brings a touch of nostalgia to any gathering or celebration. With their creamy texture and refreshing mint flavor, these homemade mints are perfect for weddings, holiday parties, or simply as a sweet indulgence after dinner. They are soft yet firm enough to hold their shape, making them a visually appealing addition to any dessert table. The sweet and buttery taste combined with the coolness of mint creates a unique flavor profile that appeals to both children and adults alike. Whether you want to impress guests at a special event or enjoy them during a quiet evening at home, Classic Homemade Butter Mints are sure to satisfy your sweet tooth.
Why You’ll Love This Recipe?
There are several reasons why you will adore this Classic Homemade Butter Mints recipe. First and foremost, the taste is simply unmatched. The combination of rich butter and fresh mint creates a flavor that is both refreshing and indulgent. Unlike store-bought mints that can often be overly sweet or artificial, these mints provide a true representation of the classic flavor profile that many have come to love. Secondly, the ease of preparation is another standout feature. With just a handful of ingredients, you can whip up a batch in no time, making them a convenient option for unexpected guests or last-minute events. The straightforward process means that even novice bakers can successfully create these mints without feeling overwhelmed. Finally, the versatility of Classic Homemade Butter Mints is worth noting. You can easily customize the flavor, color, and shape to suit any occasion, whether it’s a wedding, holiday, or just a cozy family gathering. This makes them a fantastic option for anyone looking to add a personal touch to their desserts.
Ingredients to make The recipe :

To create your own Classic Homemade Butter Mints, you will need the following ingredients:
- Powdered Sugar: This is the primary ingredient that gives the mints their sweetness and texture. You will need about 4 cups of powdered sugar to achieve the right consistency. It’s important to sift the sugar to remove any lumps, ensuring a smooth and creamy mint mixture.
- Butter: Approximately 1/4 cup of unsalted butter at room temperature is essential for adding richness to the mints. The butter should be soft enough to blend easily with the sugar but not melted, as this will alter the texture of the mints.
- Mint Extract: For flavor, you will require about 1 teaspoon of pure mint extract. This ingredient is crucial for providing the refreshing taste that makes these mints so special. Be sure to choose a high-quality extract for the best results.
- Milk: A tablespoon of milk is necessary to help bind the ingredients together and create a smooth consistency. You can use regular, almond, or coconut milk based on your preference. This small amount helps achieve the perfect texture.
- Food Coloring: Optional, but if you want to enhance the visual appeal of your Classic Homemade Butter Mints, a few drops of food coloring can be added. Choose green for a traditional mint look or any color that suits your event.
How to Make Classic Homemade Butter Mints ?
Creating Classic Homemade Butter Mints is an enjoyable process that involves a few simple steps. Follow these detailed instructions for the perfect mints:
- Begin by preparing your workspace. Clear a clean surface and gather all the necessary ingredients to ensure a smooth cooking process.
- In a large mixing bowl, add the sifted powdered sugar. This will be the base of your mints, providing sweetness and structure.
- Next, add the room temperature unsalted butter to the bowl. Using a hand mixer or stand mixer, beat the mixture on low speed until the butter is fully incorporated into the powdered sugar. The mixture should resemble coarse crumbs.
- Slowly pour in the tablespoon of milk while continuing to mix. The milk will help bind the ingredients together, so add just enough to achieve a dough-like texture. You want it to be pliable but not sticky.
- Now, add the mint extract to the mixture. Start with one teaspoon, then taste the dough to determine if you would like to add more for a stronger mint flavor. Mix until fully combined.
- If you wish to incorporate food coloring, now is the time. Add a few drops into the mixture and fold it in until you reach your desired color. This step is optional but makes for visually appealing mints.
- Once your mixture is well-blended, dust your hands with a little powdered sugar to prevent sticking. Take a small amount of the dough and roll it into a ball, about the size of a marble.
- After rolling into balls, gently flatten each ball into a small disc shape. Ensure they are uniform in size for even drying.
- Place the shaped mints onto a parchment-lined baking sheet. Make sure to leave some space between each mint, as they may expand slightly as they dry.
- Allow the mints to dry at room temperature for at least 1-2 hours. This drying process is crucial, as it helps firm up the mints for a perfect texture.
- After they have dried, you can store your Classic Homemade Butter Mints in an airtight container. They can last up to two weeks, making them a great make-ahead treat.
Tips for Variations:
If you want to get creative with your Classic Homemade Butter Mints, here are some delightful variation ideas to consider:
- For a chocolate twist, consider adding cocoa powder to the mixture. Start with one to two tablespoons of unsweetened cocoa powder for a rich chocolate flavor that pairs beautifully with the mint.
- Experiment with different extracts for unique flavors. Instead of mint, try almond, lemon, or even orange extracts to create a refreshing alternative to the classic mint flavor.
- Incorporate crushed candies or nuts into the mint mixture for added texture. Chopped pecans or walnuts can add a delightful crunch, while crushed peppermint candies can enhance the minty flavor.
- Shape the mints into fun forms using cookie cutters. This is especially great for themed parties or holidays, allowing you to create festive shapes that will impress your guests.
- For a more indulgent version, dip the dried mints in melted chocolate. This adds a luxurious touch to your Classic Homemade Butter Mints and creates a delightful contrast between the creamy mint and rich chocolate.
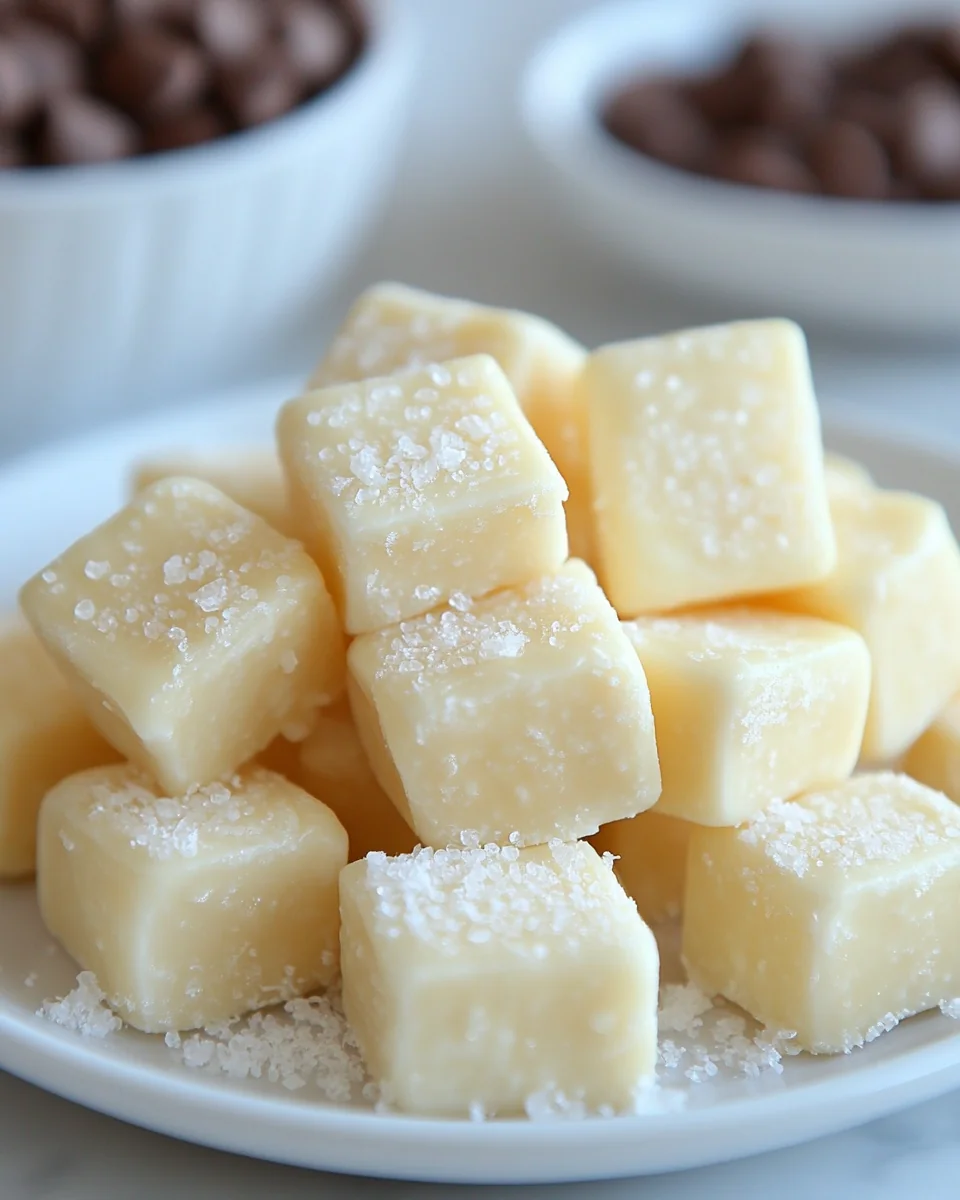
- Consider adding a sprinkle of sea salt on top of the mints before they dry. The salt will enhance the sweetness and provide a beautiful contrast in flavor.
- If you prefer a firmer mint, extend the drying time to 4-6 hours or even overnight. This will create a denser texture that is great for those who enjoy a more substantial candy.
Serving Suggestions:
When it comes to serving your Classic Homemade Butter Mints, there are numerous delightful ways to present and enjoy them:
- These mints make a perfect addition to any dessert table at weddings or parties. Arrange them in decorative bowls or glass jars for an eye-catching display.
- For a cozy family gathering, serve the mints alongside a warm cup of herbal tea or coffee. The mint flavor complements the warmth of the beverages beautifully.
- Consider packaging the mints in small gift boxes or bags as party favors. This thoughtful gesture adds a personal touch to your event and allows guests to take home a sweet memory.
- Store your mints in an airtight container in a cool, dry place. If you live in a warm climate, consider refrigerating them to maintain their firmness and prevent melting.
- Seasonally, these mints can be tailored to fit any occasion. For Christmas, add a touch of red and green food coloring, while pastel colors work wonderfully for spring celebrations or Easter.
- The versatility of Classic Homemade Butter Mints ensures that they can be enjoyed year-round, whether during festive holidays or as a delightful everyday treat.
FAQ:
How do I store leftovers?
To store your leftover Classic Homemade Butter Mints, keep them in an airtight container at room temperature. This will help maintain their texture and flavor. They can last up to two weeks when stored properly.
Can I freeze this recipe?
Yes, Classic Homemade Butter Mints can be frozen for longer storage. Place them in an airtight container or freezer bag, separating layers with parchment paper. They can be frozen for up to three months; just let them thaw at room temperature before serving.
Can I adjust the sweetness of the mints?
Absolutely! If you prefer less sweetness, you can reduce the amount of powdered sugar. However, keep in mind that this may affect the texture, so it’s best to make small adjustments until you find your perfect balance.
What occasions are best for serving these mints?
Classic Homemade Butter Mints are perfect for a variety of occasions, including weddings, baby showers, holiday parties, and family gatherings. Their versatility makes them suitable for both formal and casual events.
Can I make these mints without mint extract?
Yes, if you want to explore different flavors, you can replace mint extract with other flavor extracts like almond or lemon. Just be cautious with the amount, as some extracts can be more potent than others.
Classic Homemade Butter Mints
Equipment
- Mixing Bowl
- Hand Mixer
- Parchment Paper
Ingredients
Ingredients
- 4 cups Powdered Sugar Sifted to remove lumps.
- 1/4 cup Unsalted Butter At room temperature.
- 1 teaspoon Mint Extract Use pure extract for best flavor.
- 1 tablespoon Milk Regular, almond, or coconut milk can be used.
- a few drops Food Coloring Optional, for visual appeal.
Instructions
- Begin by preparing your workspace. Clear a clean surface and gather all the necessary ingredients.
- In a large mixing bowl, add the sifted powdered sugar.
- Add the room temperature unsalted butter to the bowl and beat on low speed until fully incorporated.
- Slowly pour in the milk while continuing to mix until a dough-like texture is achieved.
- Add the mint extract and mix until fully combined.
- If using, add food coloring and fold it in until the desired color is reached.
- Dust your hands with powdered sugar and roll small amounts of dough into balls.
- Flatten each ball into a small disc shape and place them on a parchment-lined baking sheet.
- Allow the mints to dry at room temperature for at least 1-2 hours.
- Store the dried mints in an airtight container for up to two weeks.