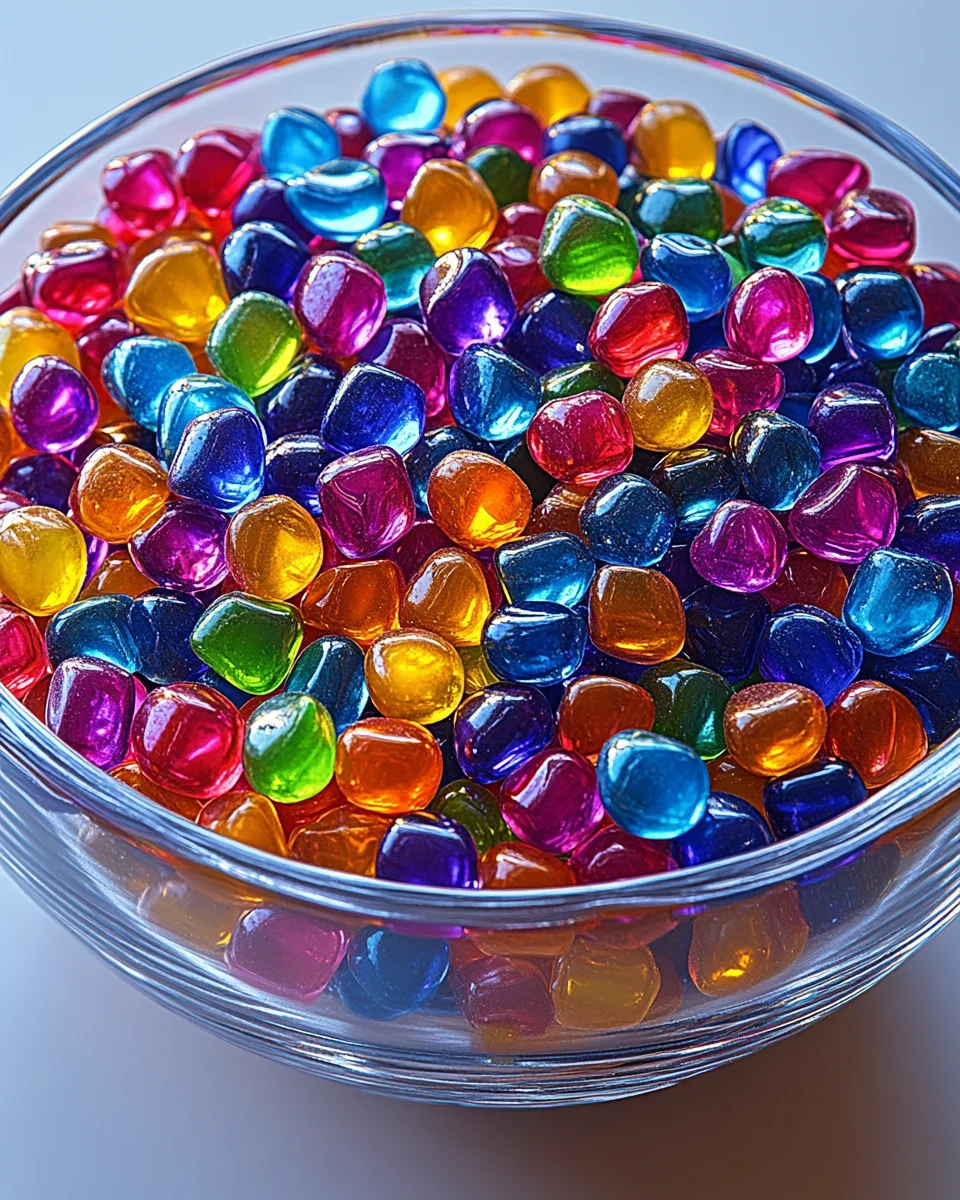
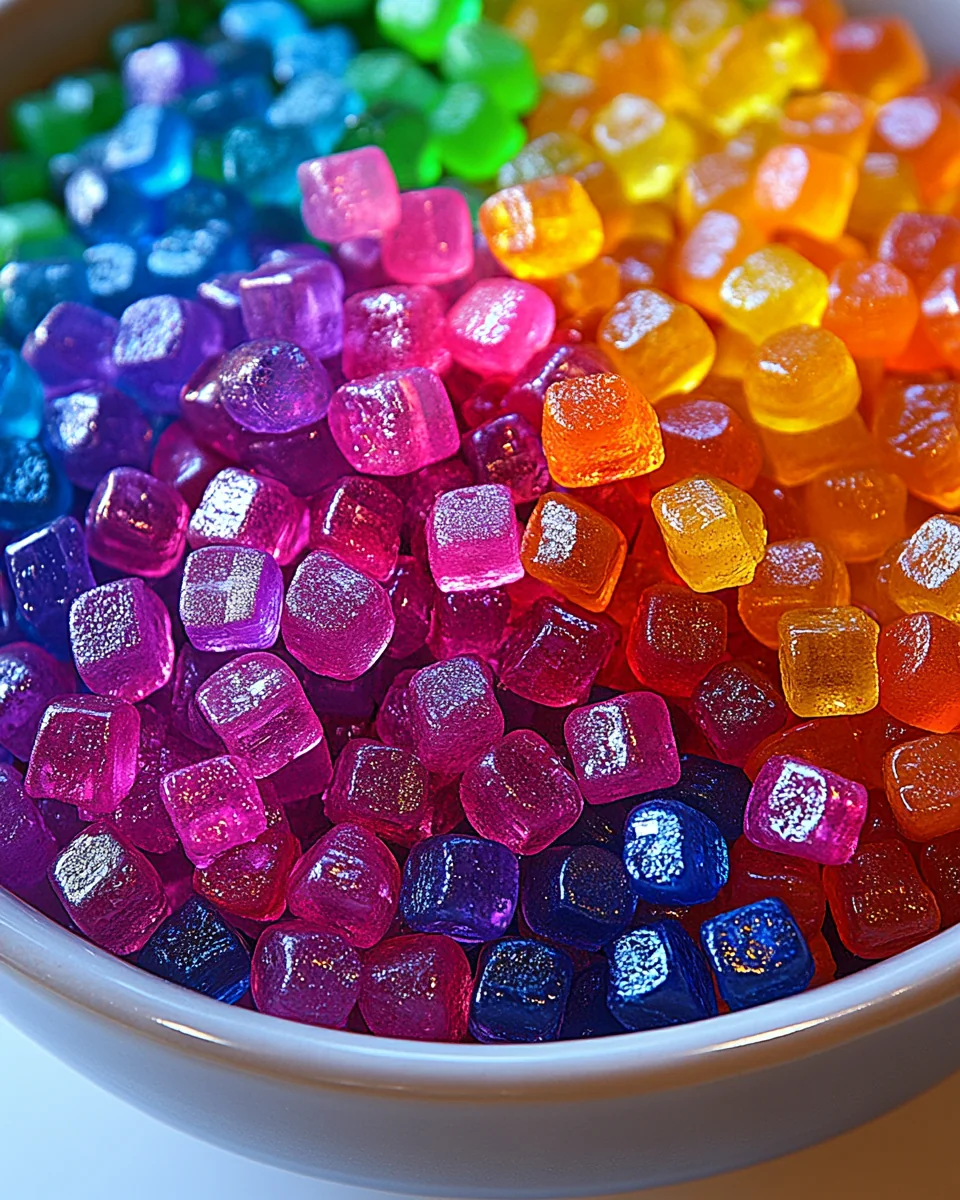
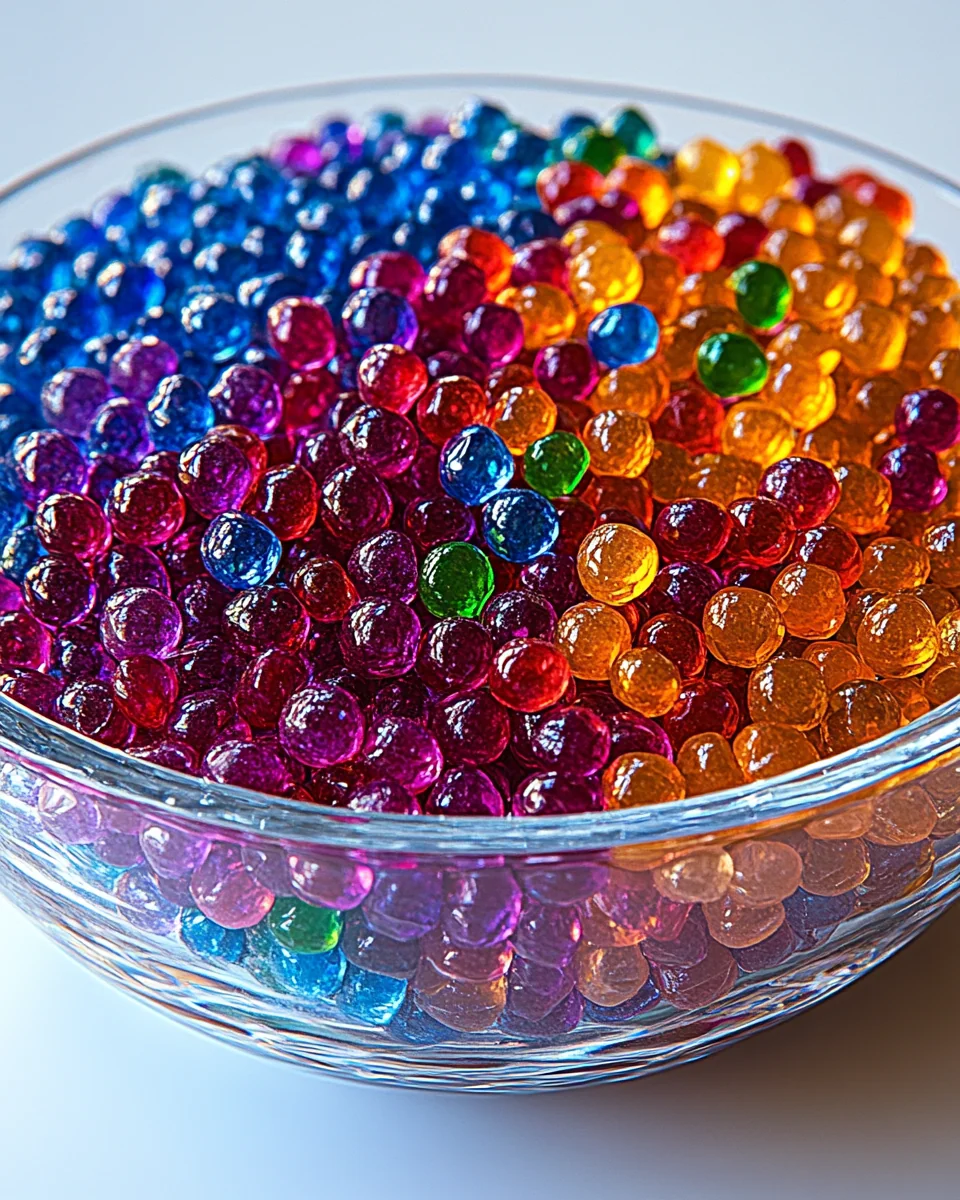
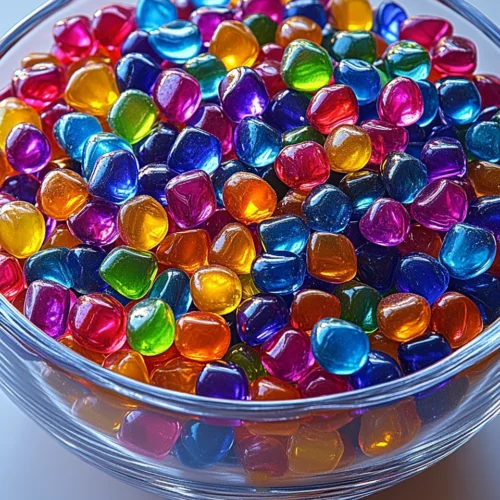
Classic Homemade Crystal Candy
Classic Homemade Crystal Candy is a beautiful and enchanting treat that captures the essence of sweetness in every bite. This candy is not just about its sugary flavor; it is a nostalgic reminder of childhood, often associated with festive occasions and family gatherings. The process of making Classic Homemade Crystal Candy is both an art and a science, resulting in a stunning, crystalline appearance that delights the eyes as much as the palate. Its texture is a perfect blend of crispy and chewy, making it irresistible for both children and adults. Whether you’re looking to impress guests at a dinner party or simply want a sweet snack during the week, Classic Homemade Crystal Candy fits seamlessly into any occasion. It is an ideal choice for family-friendly activities, allowing everyone to participate in the fun of candy-making.
Why You’ll Love This Recipe?
There are several reasons why Classic Homemade Crystal Candy stands out among other confections. First, the taste is a delightful balance of sweetness that can be customized according to your preferences. You can adjust the sugar levels or even experiment with different flavors, making it a versatile treat. Second, the ease of preparation is a significant factor. With just a handful of ingredients and simple steps, you can create a magnificent candy that will impress anyone who tries it. Third, the cooking method encourages creativity, allowing you to play with colors and shapes while making the candy. Lastly, the texture of Classic Homemade Crystal Candy is a unique experience; the crunch of the sugar crystals combined with a chewy interior creates a mouthfeel that is truly satisfying. This combination of taste, ease, and texture makes this recipe one that you will return to again and again.
Ingredients to make The recipe :

To create your own batch of Classic Homemade Crystal Candy, you will need the following ingredients:
- Granulated Sugar: This is the primary ingredient in Classic Homemade Crystal Candy. You will need about 2 cups of granulated sugar, which provides the essential sweetness and structure of the candy. It dissolves in water during cooking and crystallizes when cooled, giving the candy its signature texture.
- Water: Approximately 1 cup of water is necessary for dissolving the granulated sugar. The water acts as a medium to allow the sugar to achieve its melting point, enabling the formation of crystals as the mixture cools down.
- Food Coloring: Optional, but 1-2 teaspoons of food coloring can be added to enhance the visual appeal of your Classic Homemade Crystal Candy. Choose your favorite colors to create vibrant candy that looks as good as it tastes.
- Flavoring Extracts: You can include natural flavoring extracts such as lemon or mint, about 1 teaspoon, to personalize the flavor of your candy. This addition will elevate the taste and provide a unique twist to the classic recipe.
- Cornstarch: A light dusting of cornstarch, about 1 tablespoon, is optional but recommended to prevent the candies from sticking together after they have set. This will help maintain the beautiful crystal appearance of your Classic Homemade Crystal Candy.
How to Make Classic Homemade Crystal Candy ?
Creating Classic Homemade Crystal Candy is a rewarding experience that requires attention to detail and precision. Follow these step-by-step instructions carefully:
- Begin by preparing your workspace. Gather all your ingredients and tools, including a saucepan, a candy thermometer, a wooden spoon, and a baking sheet lined with parchment paper.
- In the saucepan, combine 2 cups of granulated sugar with 1 cup of water. Stir gently to dissolve the sugar and avoid any crystallization at this stage.
- Place the saucepan over medium heat and bring the mixture to a boil. As the sugar heats, do not stir. Instead, swirl the pan occasionally to help dissolve the sugar completely.
- Once the mixture reaches a rolling boil, insert the candy thermometer. Continue boiling until the temperature reaches 300°F (150°C), which is the hard crack stage. At this point, the sugar will form hard, glass-like crystals once cooled.
- If you are using food coloring, add it to the mixture when it reaches the desired temperature, and stir gently to incorporate. Be cautious not to add too much, as this can affect the candy’s texture.
- After reaching the target temperature, remove the saucepan from heat. Allow the mixture to cool for a few minutes before adding any flavoring extracts, which can evaporate if added too early.
- Once slightly cooled, pour the hot sugar mixture onto the prepared baking sheet. Tilt the sheet to ensure an even layer, but do not spread the mixture with a spatula, as this can disrupt the crystallization.
- Let the candy set at room temperature for several hours or until it hardens completely. Do not refrigerate, as rapid cooling can affect the texture.
- Once hardened, use a sharp knife to break the candy into desired shapes or sizes. If using cornstarch, dust the pieces lightly to prevent sticking.
- Store your Classic Homemade Crystal Candy in an airtight container at room temperature, ensuring it remains dry to maintain its crispness.
Tips for Variations:
To make your Classic Homemade Crystal Candy even more exciting, consider these creative variations:
- For a fruit-flavored twist, experiment with different natural flavoring extracts such as orange or raspberry. This will add a unique taste profile to your candy, enhancing the overall experience.
- Add a layer of texture by incorporating crushed nuts or seeds into the candy mixture before it sets. This will not only provide a crunch but will also introduce additional flavors that complement the sweetness.
- Try layering different colored candy mixtures to create a rainbow effect. Pour one color at a time, allowing each layer to set slightly before adding the next. This visually appealing variation will make your Classic Homemade Crystal Candy stand out.
- If you enjoy a hint of spice, consider adding a pinch of cinnamon or nutmeg to your sugar mixture. This can create a warm flavor profile that is perfect for seasonal celebrations.
- For a festive touch, shape the candy into holiday-themed designs using cookie cutters once it has cooled and set. This can be a fun activity for families, especially during celebrations.
Serving Suggestions:
When it comes to serving your Classic Homemade Crystal Candy, there are several delightful options:
- Present your candy in decorative jars or boxes, making it an excellent gift for friends and family during special occasions like birthdays or holidays.
- Pair your Classic Homemade Crystal Candy with a selection of teas or coffees for a delightful afternoon treat. The sweetness of the candy nicely complements the flavors of your favorite beverages.
- Incorporate the candy into dessert platters alongside fruits, cookies, and other sweets for a vibrant display at events or gatherings.
- For festive occasions like Ramadan, consider serving the candy as part of a traditional sweets platter, alongside dried fruits and nuts, to enhance the celebratory spirit.
- Store any leftovers in an airtight container, ensuring they remain fresh and ready to serve at any time. This candy can be enjoyed for weeks if kept in a cool, dry place.
FAQ:
How do I store leftovers?
To store leftovers of your Classic Homemade Crystal Candy, place the candy in an airtight container at room temperature. Ensure the container is kept in a cool, dry place away from humidity to maintain its crisp texture. Properly stored, the candy can last for several weeks.
Can I freeze this recipe?
It is not recommended to freeze Classic Homemade Crystal Candy, as freezing can alter its texture and cause it to become sticky or lose its crispness. It is best enjoyed fresh and stored at room temperature.
Can I customize the flavors of the candy?
Absolutely! You can customize the flavors of your Classic Homemade Crystal Candy by adding various natural flavoring extracts such as lemon, mint, or fruit flavors. This allows you to create a candy that suits your taste preferences perfectly.
What should I do if my candy crystallizes too early?
If your Classic Homemade Crystal Candy crystallizes too early, it may be due to stirring the mixture while it is boiling. To prevent this, avoid stirring once the sugar has dissolved. If crystallization occurs, you may need to reheat the mixture and dissolve the sugar again.
Can I use other sweeteners instead of granulated sugar?
While granulated sugar is essential for achieving the desired texture of Classic Homemade Crystal Candy, experimenting with other sweeteners can affect the final product. If you choose to try alternatives, be aware that they may alter the flavor and texture of the candy.
Classic Homemade Crystal Candy
Equipment
- Saucepan
- Candy Thermometer
- Wooden Spoon
- Baking Sheet
- Parchment Paper
Ingredients
Ingredients
- 2 cups Granulated Sugar Provides sweetness and structure.
- 1 cup Water Dissolves the sugar.
- 1-2 teaspoons Food Coloring Optional, for visual appeal.
- 1 teaspoon Flavoring Extracts Natural extracts like lemon or mint.
- 1 tablespoon Cornstarch Optional, to prevent sticking.
Instructions
- Prepare your workspace and gather all ingredients and tools.
- Combine 2 cups of granulated sugar with 1 cup of water in a saucepan. Stir gently to dissolve.
- Place the saucepan over medium heat and bring to a boil without stirring.
- Insert a candy thermometer and boil until the temperature reaches 300°F (150°C).
- Add food coloring if desired, and stir gently.
- Remove from heat and let cool slightly before adding flavoring extracts.
- Pour the mixture onto a prepared baking sheet and let it set at room temperature.
- Once hardened, break into desired shapes and dust with cornstarch if using.
- Store in an airtight container at room temperature.