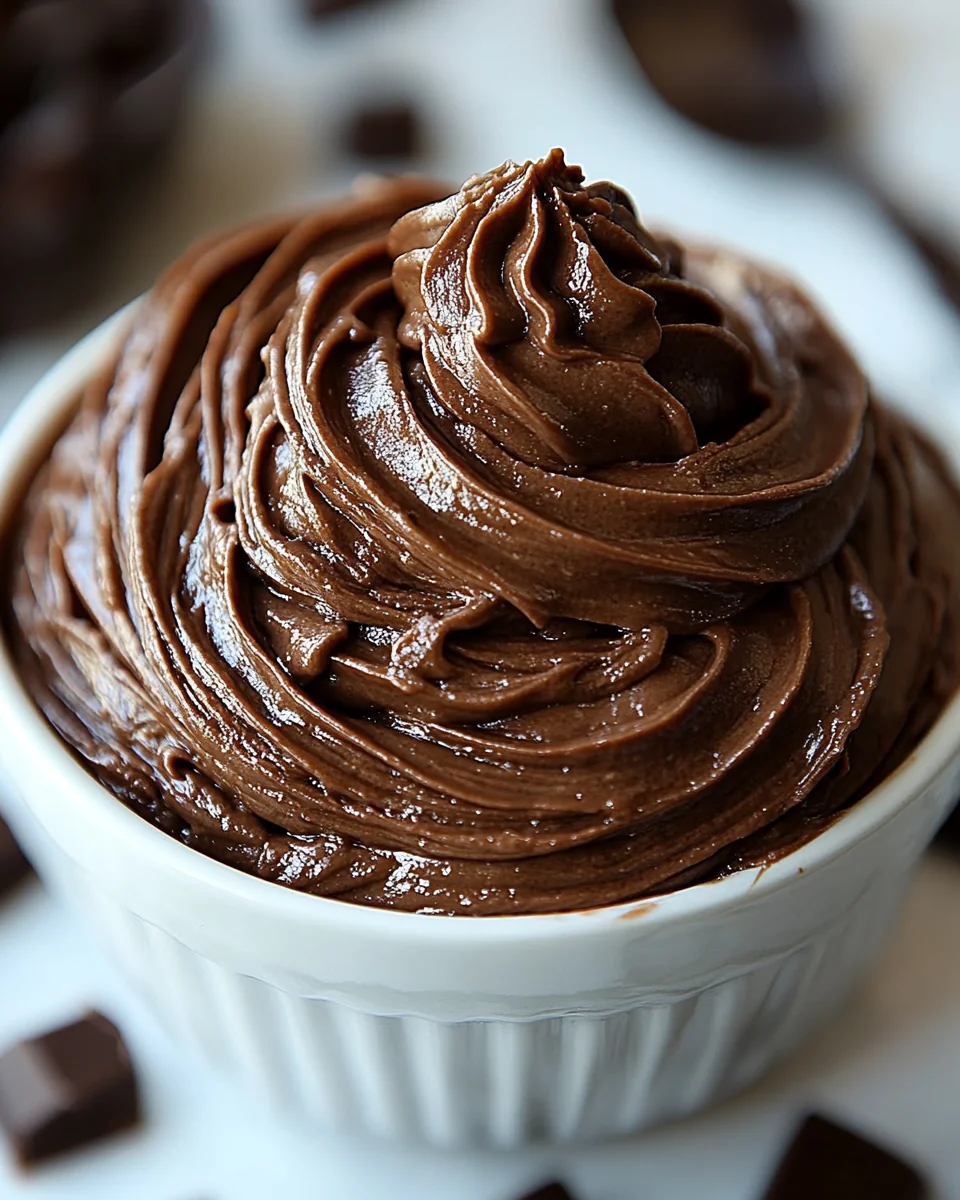
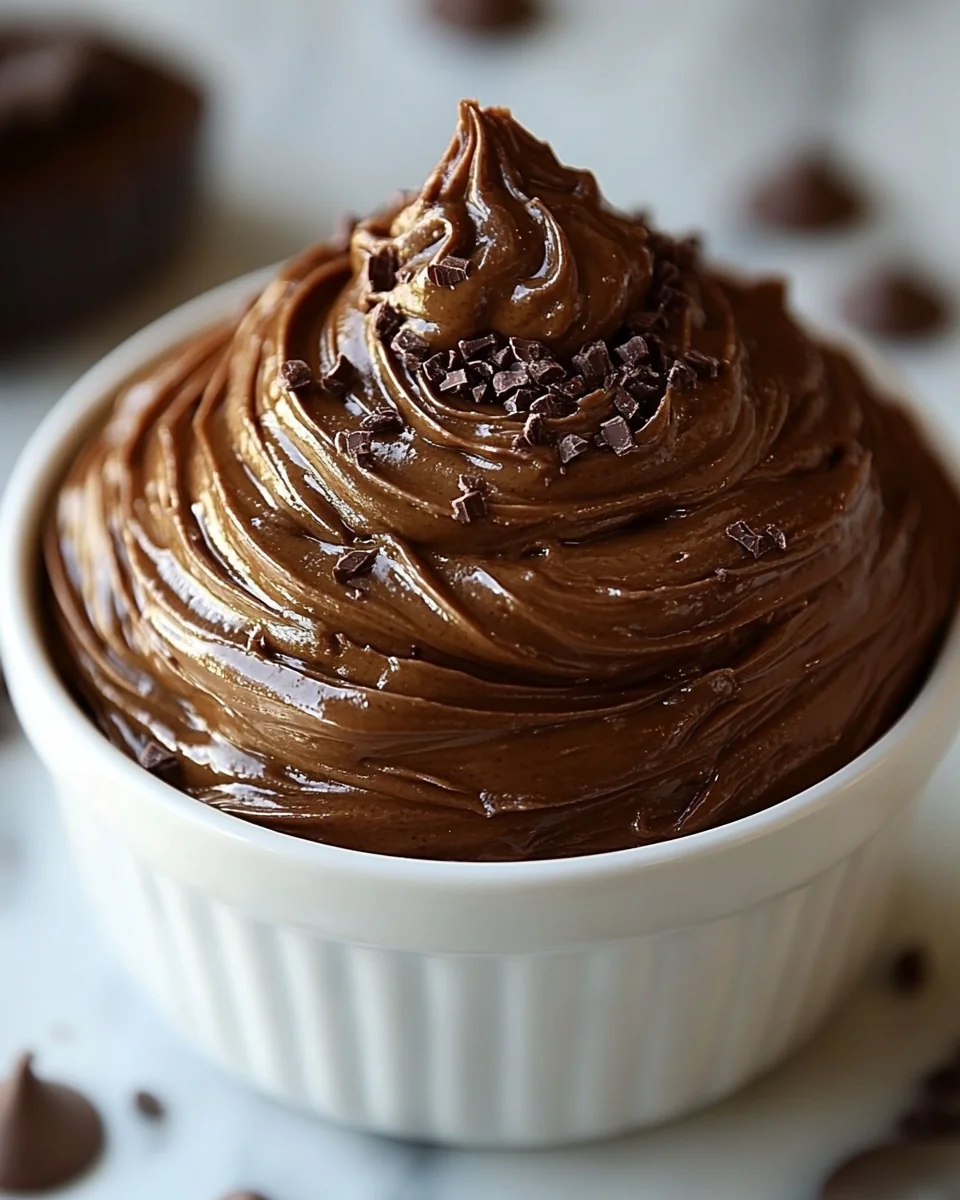
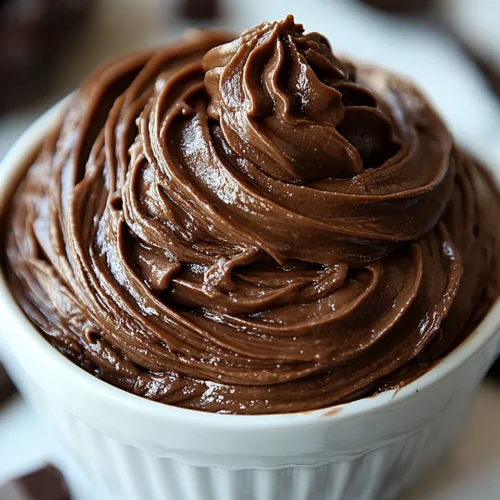
Classic Homemade Fudge Icing
Classic Homemade Fudge Icing is a rich and creamy topping that transforms any dessert into an indulgent treat. This icing boasts a velvety texture and a deep chocolate flavor that pairs beautifully with cakes, brownies, and cookies. Its versatility makes it perfect for various occasions, whether you’re preparing for a family gathering, a birthday celebration, or simply a weeknight dessert. The standout quality of Classic Homemade Fudge Icing lies in its ability to elevate even the simplest recipes, making it a favorite among both novice bakers and seasoned chefs.
Why You’ll Love This Recipe?
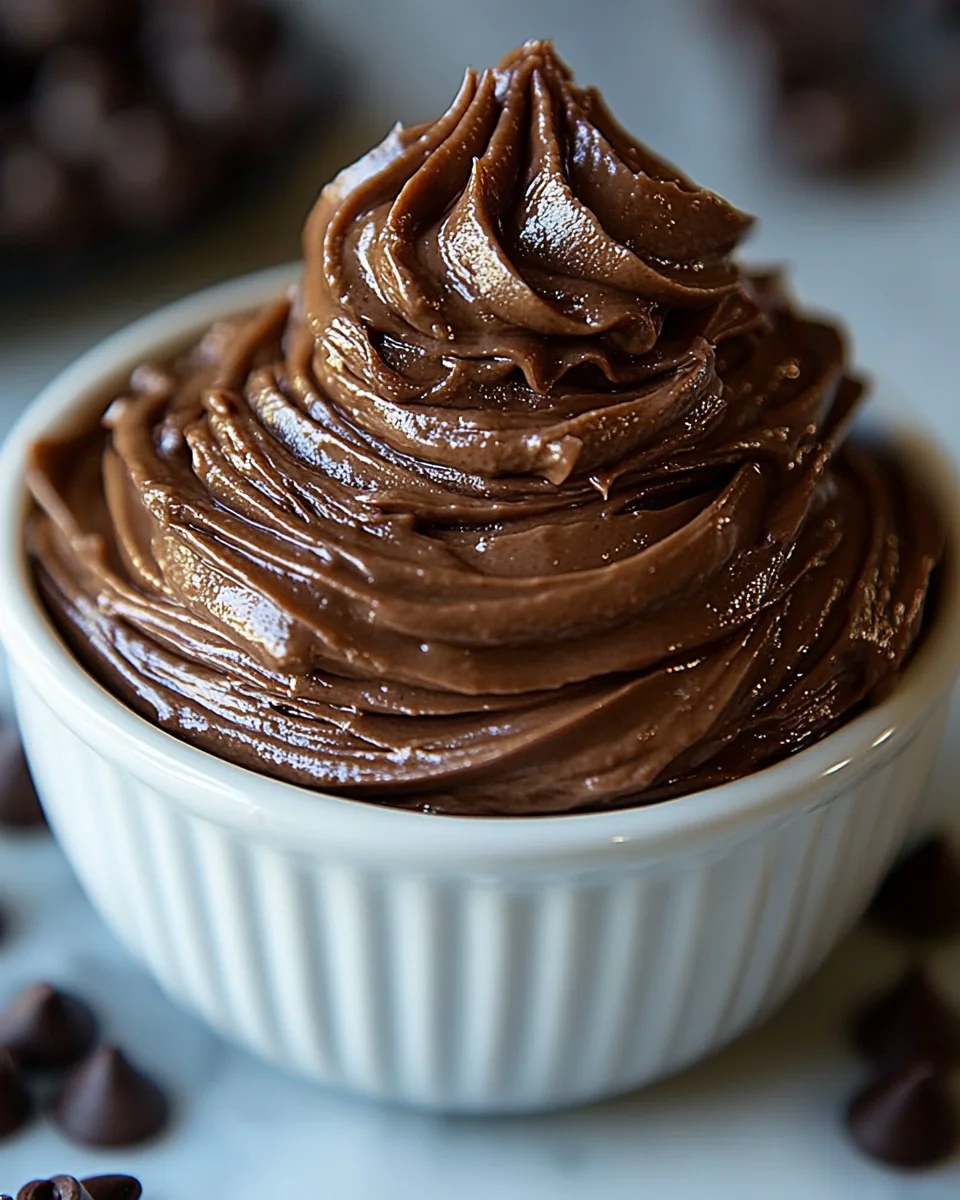
There are several reasons why this Classic Homemade Fudge Icing recipe stands out. First and foremost, the flavor is undeniably rich and satisfying. The combination of cocoa powder and sugar creates a deep chocolate taste that complements a variety of baked goods. Secondly, the ease of preparation is remarkable; with just a few simple ingredients, you can whip up this icing in no time. The cooking method involves melting and mixing, ensuring that you won’t need any sophisticated kitchen equipment. Furthermore, the texture of this icing is a highlight. It is smooth and pourable when warm, but once cooled, it sets to a delightful fudgy finish. Lastly, its versatility cannot be overlooked; whether you’re looking to frost a cake or drizzle over brownies, this icing adapts beautifully to any dessert style.
Ingredients to make The recipe:

To make the Classic Homemade Fudge Icing, you will need the following ingredients:
- Granulated Sugar: Sugar is the main sweetener in this recipe, providing the necessary sweetness that balances the rich chocolate flavor. Use 2 cups of granulated sugar to achieve the perfect consistency and sweetness level in your icing. The sugar will dissolve during the cooking process, ensuring a smooth texture without any graininess.
- Cocoa Powder: For the chocolate flavor, use ½ cup of unsweetened cocoa powder. This ingredient adds depth and richness to the icing while keeping it pure and chocolatey. Look for high-quality cocoa powder for the best results, as it will greatly influence the flavor of your icing.
- Milk: Use ½ cup of whole milk to help dissolve the sugar and cocoa powder. Milk contributes to the creamy texture of the icing, allowing it to spread easily over your baked goods. Whole milk is preferred for its richness, but you can use any milk alternative if desired.
- Butter: ½ cup of unsalted butter is essential for adding a rich flavor and glossy finish to the Classic Homemade Fudge Icing. The butter should be at room temperature for easy mixing. It helps to create a smooth, luxurious texture that coats your desserts beautifully.
- Vanilla Flavoring: Adding 1 teaspoon of vanilla flavoring enhances the overall taste of the icing. While vanilla is not a primary flavor, it provides a warm undertone that complements the chocolate and sugar, making the icing even more enjoyable. Always choose pure vanilla for the best flavor.
How to Make Classic Homemade Fudge Icing?
To prepare the Classic Homemade Fudge Icing, follow these detailed steps:
- Begin by gathering all your ingredients and measuring them accurately. This ensures a smooth process and prevents any last-minute scrambles.
- In a medium saucepan, combine 2 cups of granulated sugar and ½ cup of unsweetened cocoa powder. Whisk them together to eliminate any lumps.
- Add ½ cup of whole milk to the dry ingredients in the saucepan. Stir until the mixture is well combined. The cocoa powder and sugar should be fully incorporated into the milk.
- Next, place the saucepan over medium heat. Stir constantly to avoid scorching the mixture. As you heat it, you’ll notice the sugar beginning to dissolve.
- Once the mixture starts to bubble gently, allow it to boil for about 2 minutes. Keep stirring to maintain an even consistency and prevent burning.
- After 2 minutes of boiling, remove the saucepan from the heat. Add ½ cup of unsalted butter and 1 teaspoon of vanilla flavoring to the hot mixture.
- Carefully stir the butter into the mixture until it has completely melted. The icing will become glossy and smooth as you mix.
- Allow the icing to cool for about 10 minutes at room temperature. This cooling period will thicken the icing slightly, making it easier to spread.
- Once the icing has cooled, you can use it immediately or store it in an airtight container for later use. If it becomes too thick, reheat it gently over low heat, stirring until it reaches your desired consistency.
- Finally, use the Classic Homemade Fudge Icing to top your favorite desserts. Spread it generously on cakes, drizzle it over brownies, or use it as a dip for cookies. Enjoy!
Tips for Variations:
Explore these creative ideas to make your Classic Homemade Fudge Icing unique:
- For a nutty twist, consider adding chopped nuts such as walnuts or pecans into the icing while it cools. This adds a delightful crunch and a rich flavor that complements the chocolate.
- Experiment with different flavorings by incorporating almond or hazelnut essence instead of vanilla. This subtle change can elevate the taste profile and add a new dimension to your icing.
- Add a pinch of sea salt to the icing for a saltier contrast against the sweetness. This will enhance the overall flavor and make the chocolate taste even richer.
- If you’re a fan of spices, try incorporating a dash of cinnamon or espresso powder. These ingredients can bring out the chocolate flavor and add warmth to your icing.
- For a creamier texture, mix in a little heavy cream after removing the icing from the heat. This will give it a richer mouthfeel and a glossy finish that is irresistible.
- To create a marbled effect, divide the icing into two bowls and color one portion with food coloring. Swirl the colored icing into the chocolate for a visually stunning presentation.
- For a decadent upgrade, drizzle warm fudge icing over ice cream for a delicious dessert treat. The heat from the icing will melt slightly into the ice cream, creating a heavenly combination.
- Consider adding flavored extracts, such as mint or coconut, to create a unique twist on the classic recipe. This allows you to customize the icing to suit your dessert theme.
- Lastly, for a festive touch, sprinkle colored sprinkles or edible glitter on top of the icing just before it sets. This adds a fun visual element, perfect for celebrations.
Serving Suggestions:
Serving your Classic Homemade Fudge Icing can be a delightful experience. Here are some ideas:
- Top a rich chocolate cake with a generous layer of icing for a show-stopping dessert at family gatherings or special occasions.
- Use it as a filling between cake layers for added moisture and flavor. This works beautifully with chocolate or vanilla cakes.
- Drizzle over freshly baked brownies, allowing it to cascade down the sides for an appealing presentation. This makes for a perfect treat after dinner.
- Serve it alongside vanilla ice cream for a delicious sundae. The warm icing contrasts beautifully with the cold ice cream, creating an indulgent experience.
- Package some of the icing in small jars as homemade gifts. Pair it with baked goods for a thoughtful treat during holidays or special events.
- For Ramadan or festive occasions, offer the Classic Homemade Fudge Icing as a topping for dates or sweet pastries, enhancing their flavor and appeal.
- Store any leftovers in an airtight container in the refrigerator and use it within a week. Reheat gently before using to regain its smooth consistency.
- For a more seasonal touch, serve the icing with pumpkin or apple desserts during the fall, highlighting the flavors of the season.
- Consider pairing it with coffee or tea for an afternoon treat, where the rich chocolate flavor complements the beverage perfectly.
FAQ:
How do I store leftovers?
To store leftovers of your Classic Homemade Fudge Icing, place it in an airtight container and refrigerate. It will keep well for up to a week. When ready to use, simply reheat gently over low heat until it reaches the desired consistency.
Can I freeze this recipe?
Yes, you can freeze Classic Homemade Fudge Icing. Allow it to cool completely, then transfer it into a freezer-safe container. It can be frozen for up to three months. Thaw it in the refrigerator overnight before reheating for use.
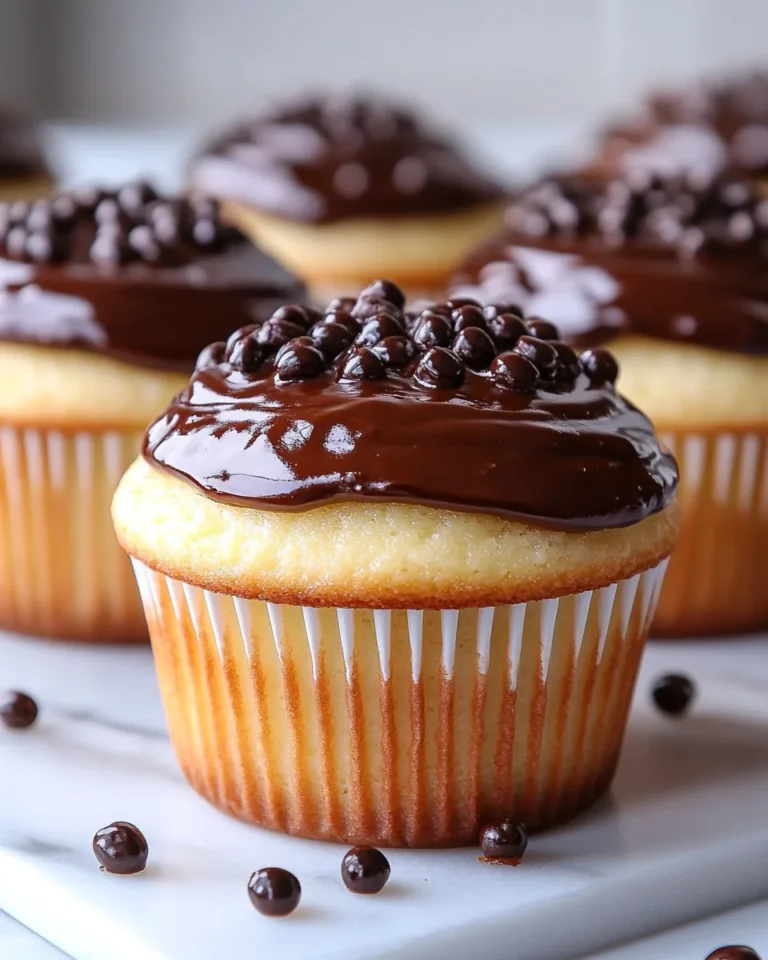
Can I use this icing on cupcakes?
Absolutely! The Classic Homemade Fudge Icing is perfect for topping cupcakes. Its rich flavor and creamy texture enhance the overall dessert experience. Simply pipe or spread it over your favorite cupcake flavors.
How can I make the icing thicker?
If you prefer a thicker icing, return it to the heat and let it boil for an additional minute while stirring. This will evaporate some moisture and create a thicker texture suitable for spreading.
Can I use this icing for cake decorating?
Yes, this icing is great for cake decorating. It can be spread smoothly over cakes or used for drizzling. For a more decorative finish, allow it to cool slightly before applying.
Classic Homemade Fudge Icing
Equipment
- Medium Saucepan
- Whisk
Ingredients
Ingredients
- 2 cups Granulated Sugar Main sweetener for the icing.
- 0.5 cup Unsweetened Cocoa Powder Adds rich chocolate flavor.
- 0.5 cup Whole Milk Contributes to creamy texture.
- 0.5 cup Unsalted Butter Should be at room temperature for easy mixing.
- 1 teaspoon Vanilla Flavoring Enhances overall taste.
Instructions
- Gather all your ingredients and measure them accurately.
- In a medium saucepan, combine the granulated sugar and cocoa powder. Whisk together to eliminate lumps.
- Add the whole milk to the dry ingredients in the saucepan and stir until well combined.
- Place the saucepan over medium heat, stirring constantly to avoid scorching.
- Once the mixture starts to bubble, allow it to boil for about 2 minutes while stirring.
- Remove the saucepan from heat and add the unsalted butter and vanilla flavoring.
- Stir until the butter has completely melted and the mixture is glossy and smooth.
- Allow the icing to cool for about 10 minutes at room temperature.
- Use the icing immediately or store in an airtight container for later use.